With the release of Trend Micro WFBS 7.0 this week, I thought I’d put together a brief FAQ on how to perform the upgrade. These instructions are pretty brief, and a fuller description of the installation procedure will be contained in my upcoming Trend Micro WFBS 7.0 Visual Guide due for release shortly. Make sure to sign up for the newsletter here to be informed when the guide is released.
First step is to download the WFBS 7.0 program from Trend. Trend have modified the installation process so that the initial download file is a downloader that will download the rest of the file. While it is doing that it gives you links to relevant information that can assist in the installation or upgrade process. You can download it from here
Verify free space on disk – you will need around 1.3GB of free disk space to perform the extraction of the installation files. This can be on an alternate drive to the drive that WFBS is installed onto now. On my server I had 29GB of free space on the C: drive before I started the upgrade process.
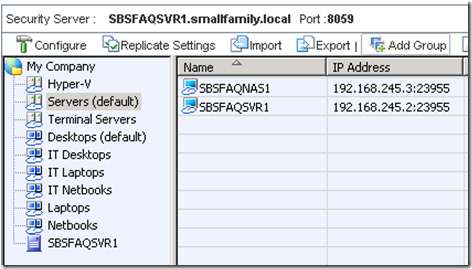
Login to your web console and verify what ports your server is on now – just in case you need to reinstall for whatever reason. This also allows you to verify your console password is correct. Once you login to the WFBS web console, go to the Security tab and view the screen below. On that screen you can see the Security Servers fully qualified domain name and the port it is on – in this case port 8059. Below it and to the right you can see the client port that the client machines will listen on for Trend WFBS communication – in this case port 23955.
From within the WFBS Web Console, verify what build you are on now – in case it’s needed for support reasons later.
Close the WFBS Web Console.
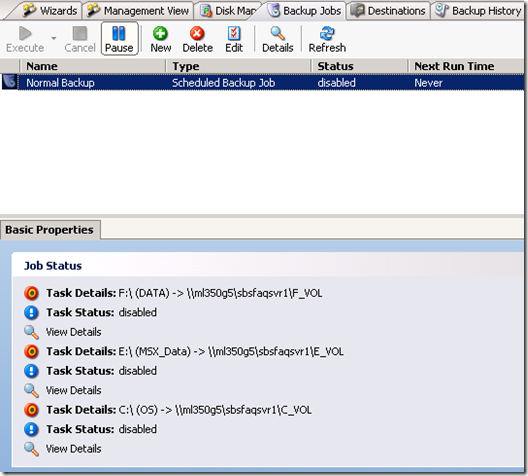
Run a backup of your server so that should anything major go wrong you have a fallback position. This is not just a precaution you should take with Trend upgrades, but a general one to be considered for ANY major upgrade. On my SBS 2008 server, I’m using ShadowProtect, so I’ve just run a backup using it. You will then need to pause the backup job as you don’t want anything competing for system resources while you are changing such a major thing as the Antivirus solution.
By now your download should be complete and Trend should have started the execution process.
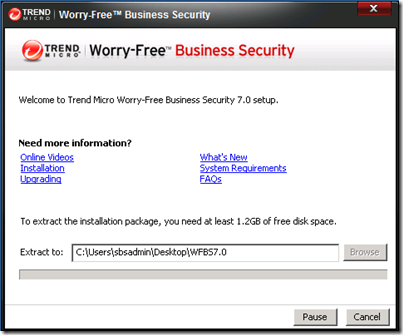
Run the WFBS downloader and then allow it to execute. It may appear to have stalled as it’s busy running the initial check on the downloaded file, but it will then give you the screen below.
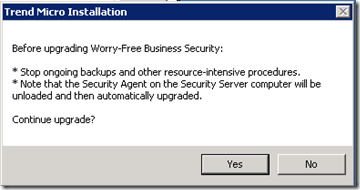
The file will now decompress into the path listed above. This may take a few minutes while it does this, but you can then copy the resultant directory for future use if you wish to speed up this step. You will get a warning screen like below. We’ve already stopped our backup so we are clear to proceed.
After extraction you will get the following screen – this shows that the extraction process has completed without any issues and you are ready to perform the upgrade on your server.
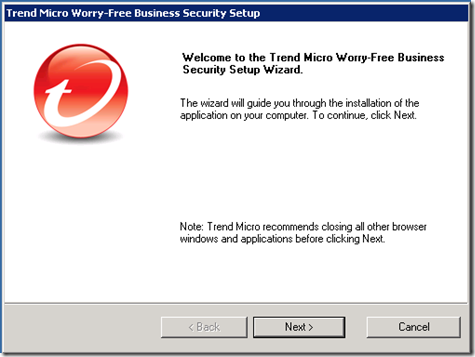
Accept the license agreement and Next.
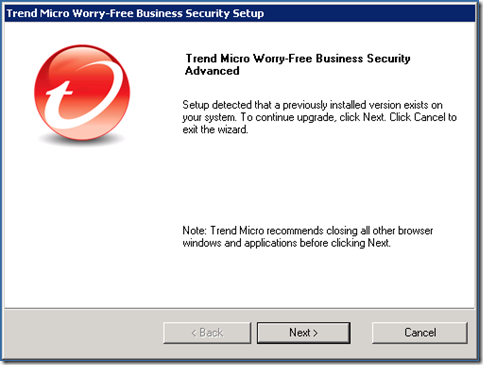
The setup program will now collect information about your server – this process may take a few minutes. Given I am doing an in-place upgrade, it has detected that I have a previously installed version and asks for Next to be selected before continuing.
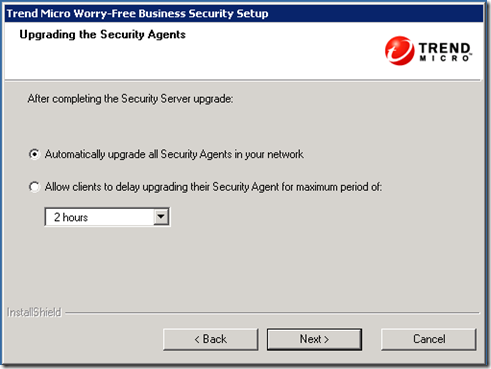
Now this is a smart idea – because we are doing an in-place upgrade, Trend gives us the ability to nominate just when the Client Security Agents in the network will be upgraded. This is a good idea because of the fact that you might not want the upgrade of the CSAs to take place right away due to network traffic or the fact that when the agent upgrades, it momentarily disconnects the Client computers network connection. I’ve selected to upgrade my agents ASAP, but you can select to allow the clients to delay their upgrade for up to 24 hours. Select your option and then select Next.
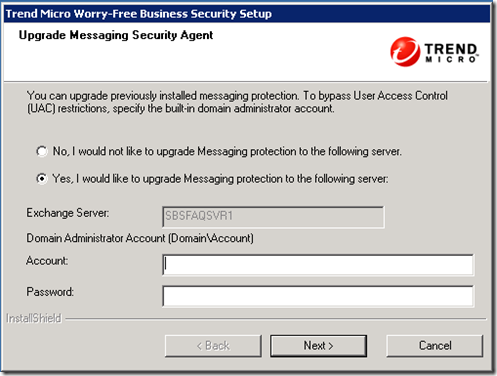
During the upgrade, Trend will upgrade the Messaging Security Agent (MSA) also if it’s installed on your Exchange server. It will require Exchange Organisation Administrator level credentials for this as per the screen below. Make sure you enter the domain\account correctly and select Next to continue.
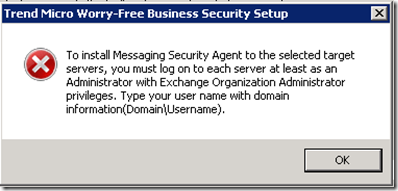
The upgrade program then checks that the credentials above are correct – if not it will prompt as per below.
Now the interesting thing with my upgrade is that the account I used to logon to the server WAS an Exchange Organisation Administrator but it failed with the screen above. I’m not sure why it failed, so I used THE Administrator account instead. I’ll report this to Trend as I didn’t see this in my testing originally as I was testing on new SBS installations and my installation here is a migration installation and I suspect it’s related to that.
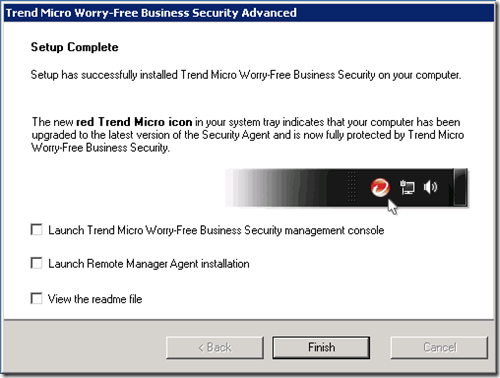
The upgrade then proceeded through fairly smoothly and took around 40 minutes before giving me this screen.
Login to the web console for the first time and you will get a couple of ActiveX installation warnings – this is normal and you can accept them.
Verify the version upgrade has taken place correctly as per the screen below.
You will also find that all of your Client Security Agents will give the users a notification that they need to reboot their computers this includes the server itself. This is normal and is required. Once they have rebooted, they will have full functionality of the new client agent.
After the upgrade process be sure to re-enable your backup and take a quick backup of the system now that the upgrade has completed successfully.


hi Wayne,
Thanks for the complete walkthrough for your upgrade. With the exception of the admin account, glad to see everything proceeded smoothly.
thanks,
Dal
Hi Wayne. Do you know if there is a full download available, rather than just the 1mb bootstrap? We have traditionally automated a pre-download to all of our servers to save time, prior to a tech logging on to each to run the already downloaded installer. This new method unfortunately increases our manual labour require even further.
Ben
Ben – once you download it once you can use that over and over again. The downloader was designed to download it FASTER than a normal HTTP file transfer.
The Wayne.
Has it been confirmed that v7.0 now supports Exchange 2010?
http://esupport.trendmicro.com/7/Does-Worry-Free-Business-Security-Advanced-support-Microsoft-Exchange-Server-2010-.aspx
Thanks.
Wayne A
All good. Found the exchange 2010 confirmation.
http://www.trendmicro.com/ftp/documentation/readme/Trend%20Micro%20Worry-Free%20Business%20Security%20Readme%20Advanced.htm
i just wonder if u experience a differnce in upgrading related to web console address totaly different from version 6.0
Hi
i am planning to upgrade to version 7
i am going to do this installation the first time. i do not know whether they are using shadow protect and all. if they are not using this how can i back up the files in the server?
i also want to know that i have downloaded the version 7 exe from the web and i just need to run that?
a quick reply from any one is really appreciated
please post here or you can mail to me at
[email protected]